Brush-On Nail Glue: The Best Way to Apply Adhesive for Perfect Nails
Introduction
Are you tired of struggling with messy nail glue application, leading to uneven extensions or frustrating lifting? Then you’ve come to the right place! Today, we’re diving deep into the world of brush on nail glue, the game-changer that’s revolutionizing the way we apply adhesive for flawless nail art and extensions. Forget the clumsy squeeze bottles and say hello to precise, controlled application that saves time and minimizes those frustrating mistakes. This comprehensive guide will walk you through everything you need to know.
What Is Brush on Nail Glue?
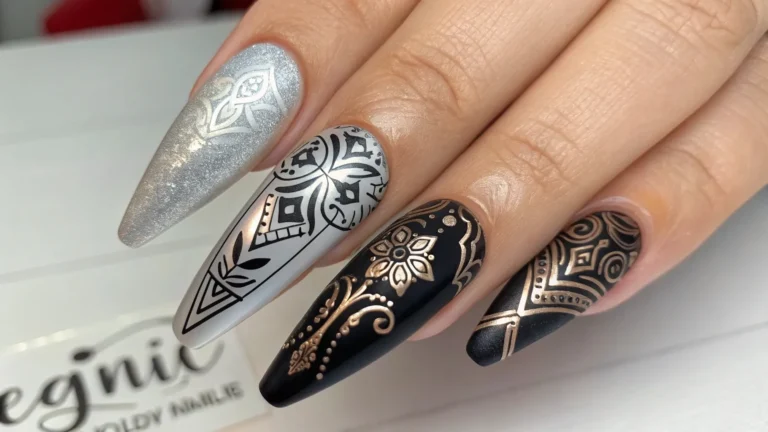
Brush on nail glue is a type of adhesive specifically designed for nail applications, featuring a built-in brush applicator for precise dispensing. Unlike traditional liquid nail glues that often come in squeeze bottles, this innovative design offers greater control, reducing waste and preventing the messy application that can lead to poorly adhered extensions or nail art. It’s a favourite among both professional nail technicians and DIY enthusiasts because of its ease of use and precision. This is a definite upgrade from liquid nail glue, brush-on adhesive, nail glue for extensions in traditional bottles.
Beginner’s Guide to Brush on Nail Glue
The beauty of brush on nail glue lies in its simplicity. Even complete beginners can achieve professional-looking results. The key is to start with a clean, dry nail surface and to apply a thin, even layer of adhesive. Too much glue can lead to lifting, while too little won’t provide adequate adhesion. Many brands offer excellent quality nail glue for extensions with brush applicators. You’ll find many tutorials online. Remember, practice makes perfect!
Nail Prep Checklist 💅
Before you even think about picking up your brush on nail glue, ensure your nails are perfectly prepped. This will ensure the best possible adhesion and longevity for your nail art or extensions.
- Cleanse nails with a non-oily nail polish remover.
- Gently push back or trim cuticles.
- Buff the nail surface lightly to remove any shine.
- Apply a dehydrator (optional, but recommended for longer-lasting adhesion).
- Your brush-on nail glue and chosen nail enhancements.
How to Apply Brush on Nail Glue – Step-by-Step
Step 1: Prepare the Nail
Ensure your nail is clean, dry, and buffed.
Step 2: Apply a Thin Layer of Glue
Use the brush to apply a thin, even layer of brush on nail glue to the nail bed, avoiding the cuticle area.
Step 3: Secure the Enhancement
Gently press the nail enhancement onto the prepared nail bed. Hold for 30 seconds to ensure proper adhesion.
Step 4: Clean Up Excess Glue
Immediately remove any excess glue with a cotton swab dipped in nail polish remover.
Step 5: Cure (If Necessary)
If using gel extensions, cure under a UV/LED lamp according to the manufacturer’s instructions.
Pro Tip: For beginners, a small amount of glue goes a long way. It’s better to apply in two thin coats than one thick coat to avoid bubbles or uneven adhesion.
Best Practices & Expert Tips
Always choose a high-quality brush on nail glue. This will improve the longevity and prevent lifting or damage to your natural nail.
Store your brush on nail glue in a cool, dry place to maintain its effectiveness.
A little goes along way : Don’t over apply, especially to the cuticles
If you’re struggling to get completely smooth coverage, try applying very thin coats, one at a time, and allowing the glue to dry slightly between coats.
List of Top 5 Brush on Nail Glue Brands (2024)
(This section would contain reviews and links to 5 specific brush-on nail glue brands. Remember to always provide affiliate disclosures where appropriate.)
FAQs About Brush on Nail Glue
Q: How long does it take for brush on nail glue to dry?
A: Usually, it takes about 30-60 seconds for brush on nail glue to set, however, It’s always best to let it dry completely before resuming activities.
Q: Can I reuse brush on nail glue?
A: Most brush on nail glue is designed to be used individually
Q: What should I do if my nail enhancement lifts after using brush on nail glue?
A: Proper nail prep is key. Make sure to follow the steps outlined in this article carefully. If the lifting persists, you may need to try a different brand of brush on nail glue or seek professional assistance.
Q: Is brush on nail glue safe for my natural nails?
A: When used as directed, most commercially available brush on nail glue is generally safe. However, always test for allergies, and if you experience any irritation, stop use immediately.
Conclusion
Mastering the art of applying brush on nail glue is a game-changer for achieving flawlessly applied nail extensions and captivating nail art. By following the step-by-step instructions and tips provided in this guide, you can easily elevate your nail game, whether you’re a seasoned professional or just starting your DIY nail journey. Now go forth and create stunning nail masterpieces! Don’t forget to share your creations with us in the comments below!